This guide gets you live in minutes through a simple chat with Oskar, your AI-powered assistant. Describe your business in plain language—what you offer, who can book, and any special rules—and Oskar builds your booking system. No coding. No complex menus. Just a clean flow that turns your words into a fully functioning Booking Page.
Step 1: Chat
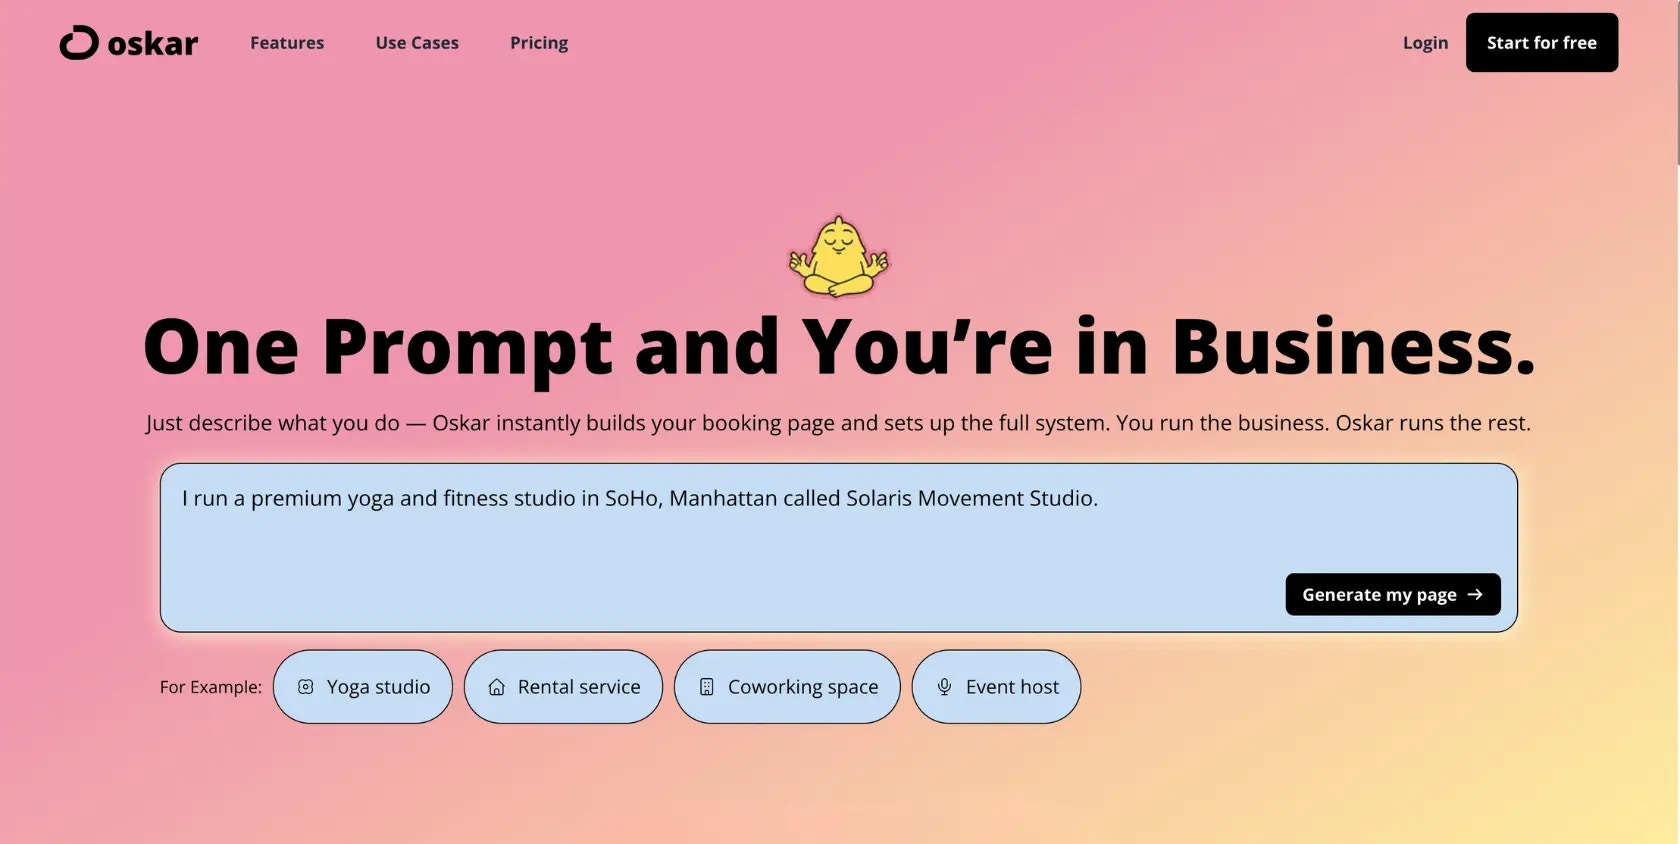
Start a chat at oskaros.com. Tell Oskar what you offer—staff (“Barber Jane”), rooms (“Conference Room A”), services (“30-Minute Haircut”), events (“Sunday Yoga Flow”), availability, pricing, and rules. Oskar fills in missing details with smart follow-up questions:- “How long is the haircut?”
- “When is Jane available?”
- “Should clients choose a room or be auto-assigned?”
- Left Menu → MANAGE → Resources
- Left Menu → MANAGE → Services
AI Documentation Assistant. No technical skills needed. Oskar structures everything for you.
Step 2: Preview
As you chat, Oskar generates a live Booking Page preview—exactly how clients will see it. You can adjust anything directly in the chat:- “Rename Yoga Flow to Morning Vinyasa”
- “Group my rooms together”
- “Show services first instead of resources”
Organization Menu → Customize Booking Page.
Step 3: Confirm
Click “Proceed with this setup” to finalize the configuration.Oskar will ask for your:
- Business name
- Logo
- Contact details
- Address and Tax ID (optional)
- Sign-in method: Choose email/password, Google, or Microsoft
(see Security & Authentication for SSO setup)
Step 4: Fine-tune
In your dashboard, refine advanced settings:- Availability (e.g., Mon–Fri, 9–17h)
- Booking limits (single vs. shared)
- Buffers (setup, cleaning, travel)
- Maintenance or blocked times
- Pricing variants and add-ons
- Left Menu → MANAGE → Resources
- Left Menu → MANAGE → Services
Interactive Dashboard Tour
for visual walkthroughs of these settings.
Step 5: Share & Go Live
Your Booking Page is ready. Share it using:- Direct link
- QR code
- Website embed
Organization Menu → View Booking Page Clients can book instantly. You can update rules or track activity anytime through the dashboard or chat.
Sign-In Options Quick Start
Need help?
Book a personal onboarding session:https://www.oskaros.com/support
Explore Use Case Templates
Not sure how to structure resources, services, or events?Browse our Use Case Templates for real-world examples: 👉 https://help.oskaros.com/guides/use-case-templates/intro