Clients bring the QR code from their confirmation email, and you scan it to log their arrival instantly.
Overview
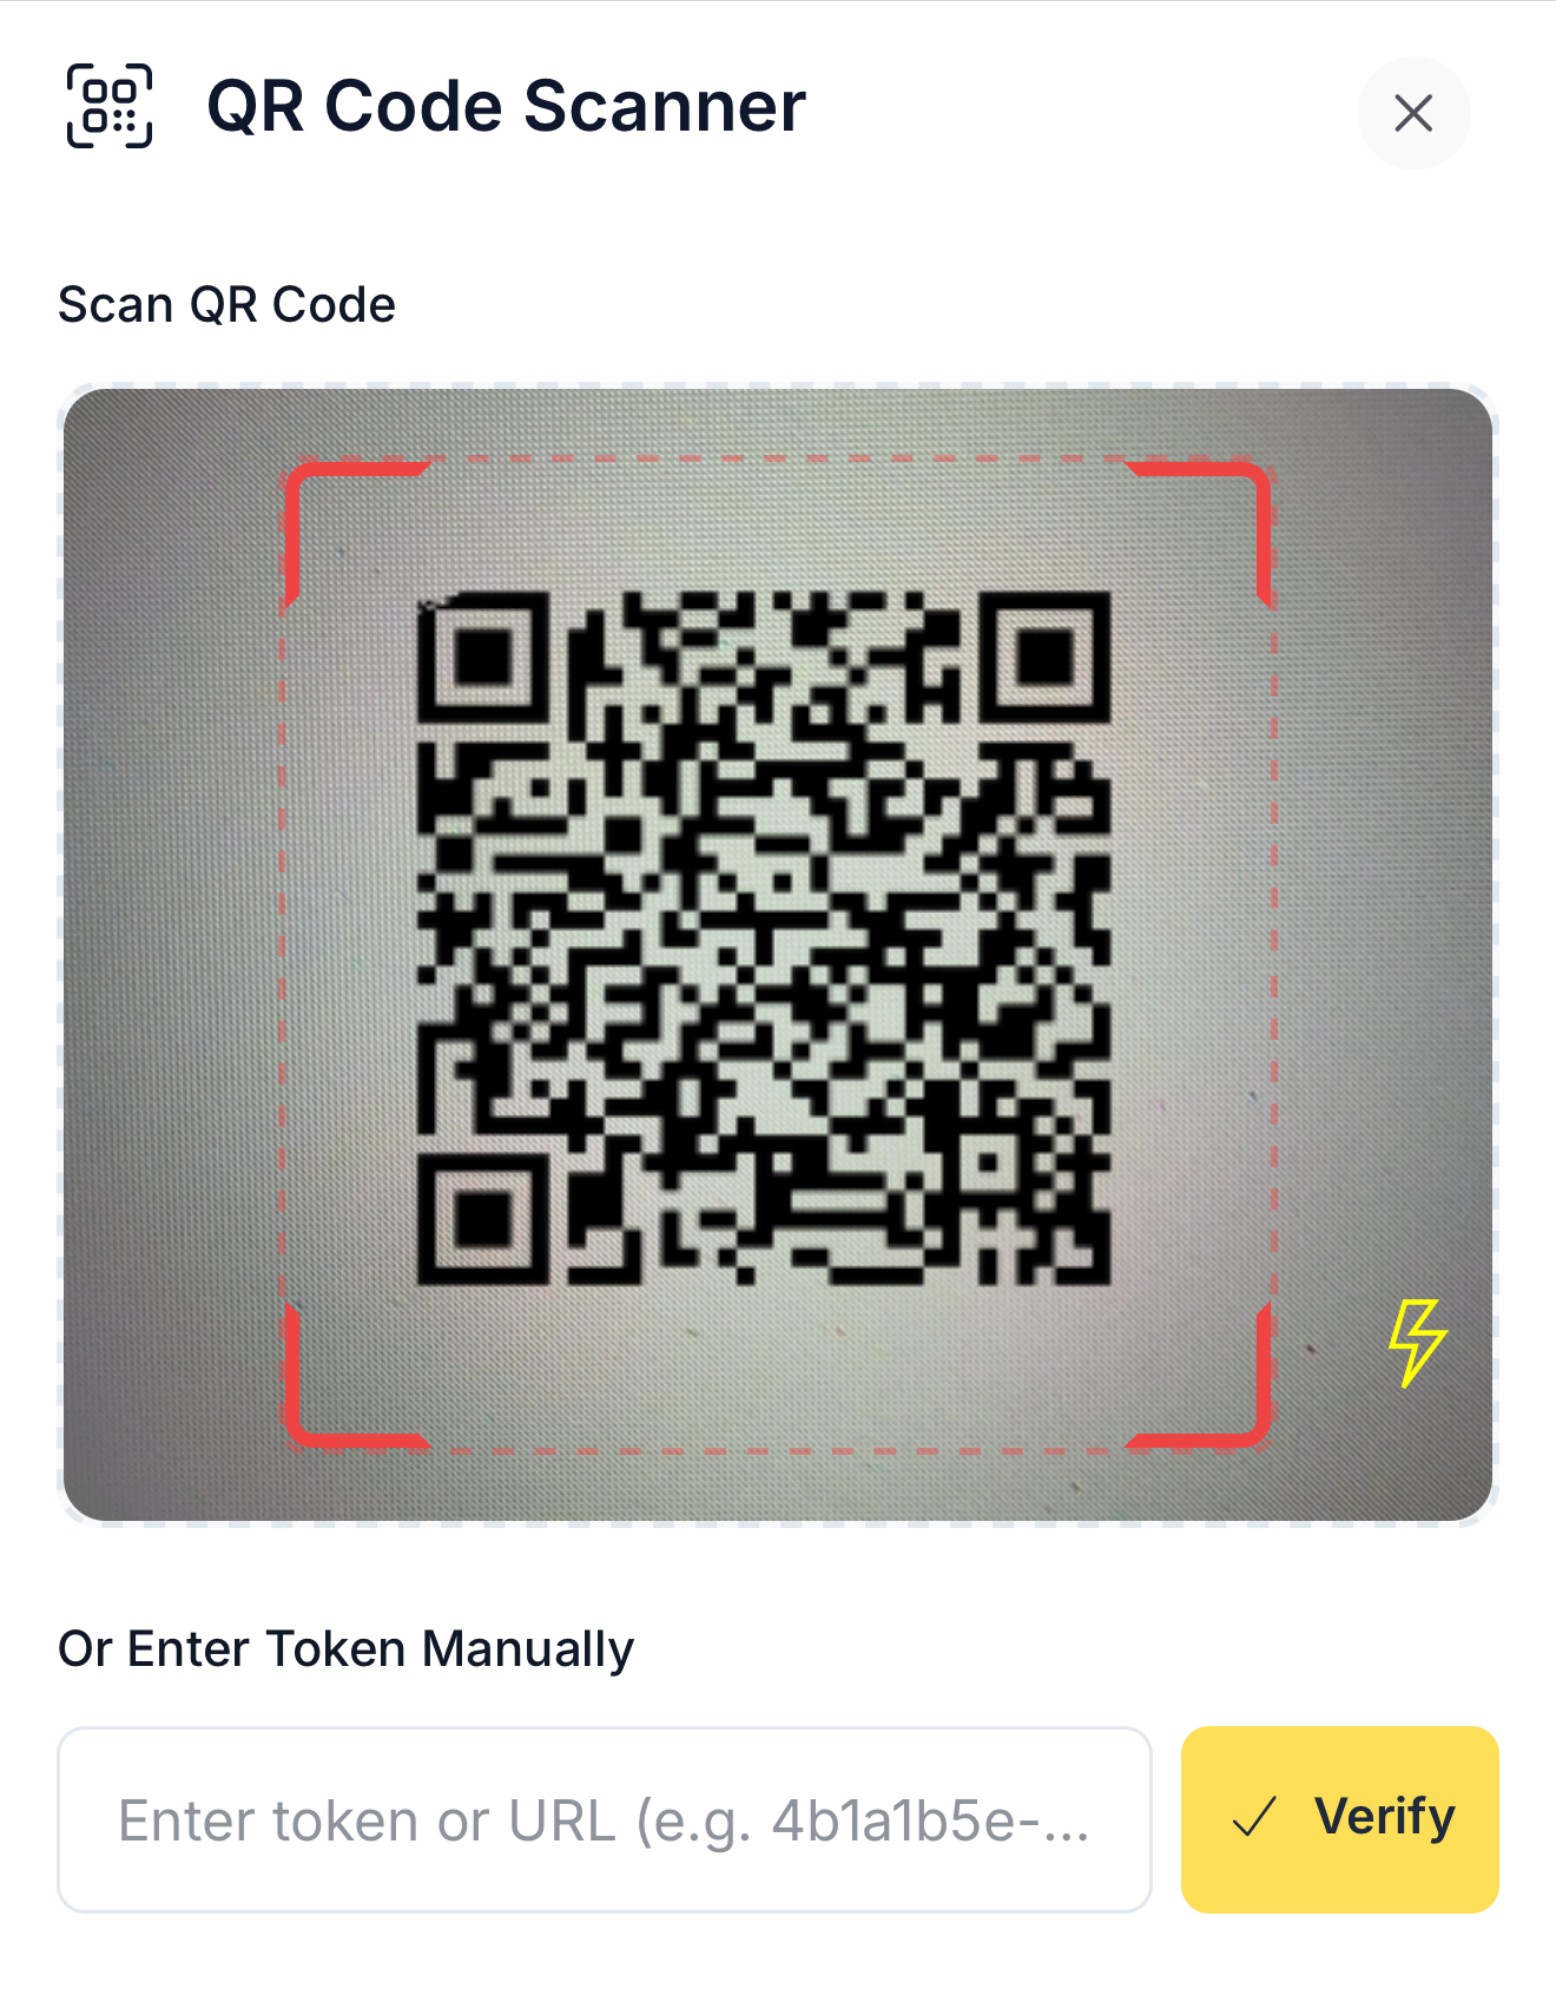
Every booking confirmation includes:- A scannable QR code
- A manual fallback code
Events & Courses
- Go to MANAGE → Events → [Your Event] → Payment & Checkout.
- Toggle Enable QR Check-in.
- Clients automatically receive a QR code in their confirmation email.
- At the venue, you can scan codes in two ways:
- From the event attendee list → click the QR icon (Scan button, top right).
- From anywhere in the dashboard → Quick Actions → Scan QR Code.
Services & Regular Bookings
- Go to MANAGE → Services → [Your Service] → Payment & Checkout.
- Enable QR Check-in.
- Clients receive a QR code in confirmation emails.
- Scan their code on arrival using the same scanning tools as for events.
Check-In & Check-Out
- A successful scan updates the client’s status to Checked In.
- Scan again (or toggle manually) to mark them as Checked Out.
- Attendance updates in real time across all devices.
Supported Devices
You can scan QR codes from any browser-enabled device with a camera:- Laptops
- Tablets
- Smartphones
or
Events → [Your Event] → Scan
Notes
- All QR codes include a manual backup code.
- Browser camera permissions must be enabled.
- Check-in data feeds into attendance tracking for events and shared resources.
QR check-ins deliver a smooth, professional arrival experience — and keep your operations flowing effortlessly.